Hewing Shed
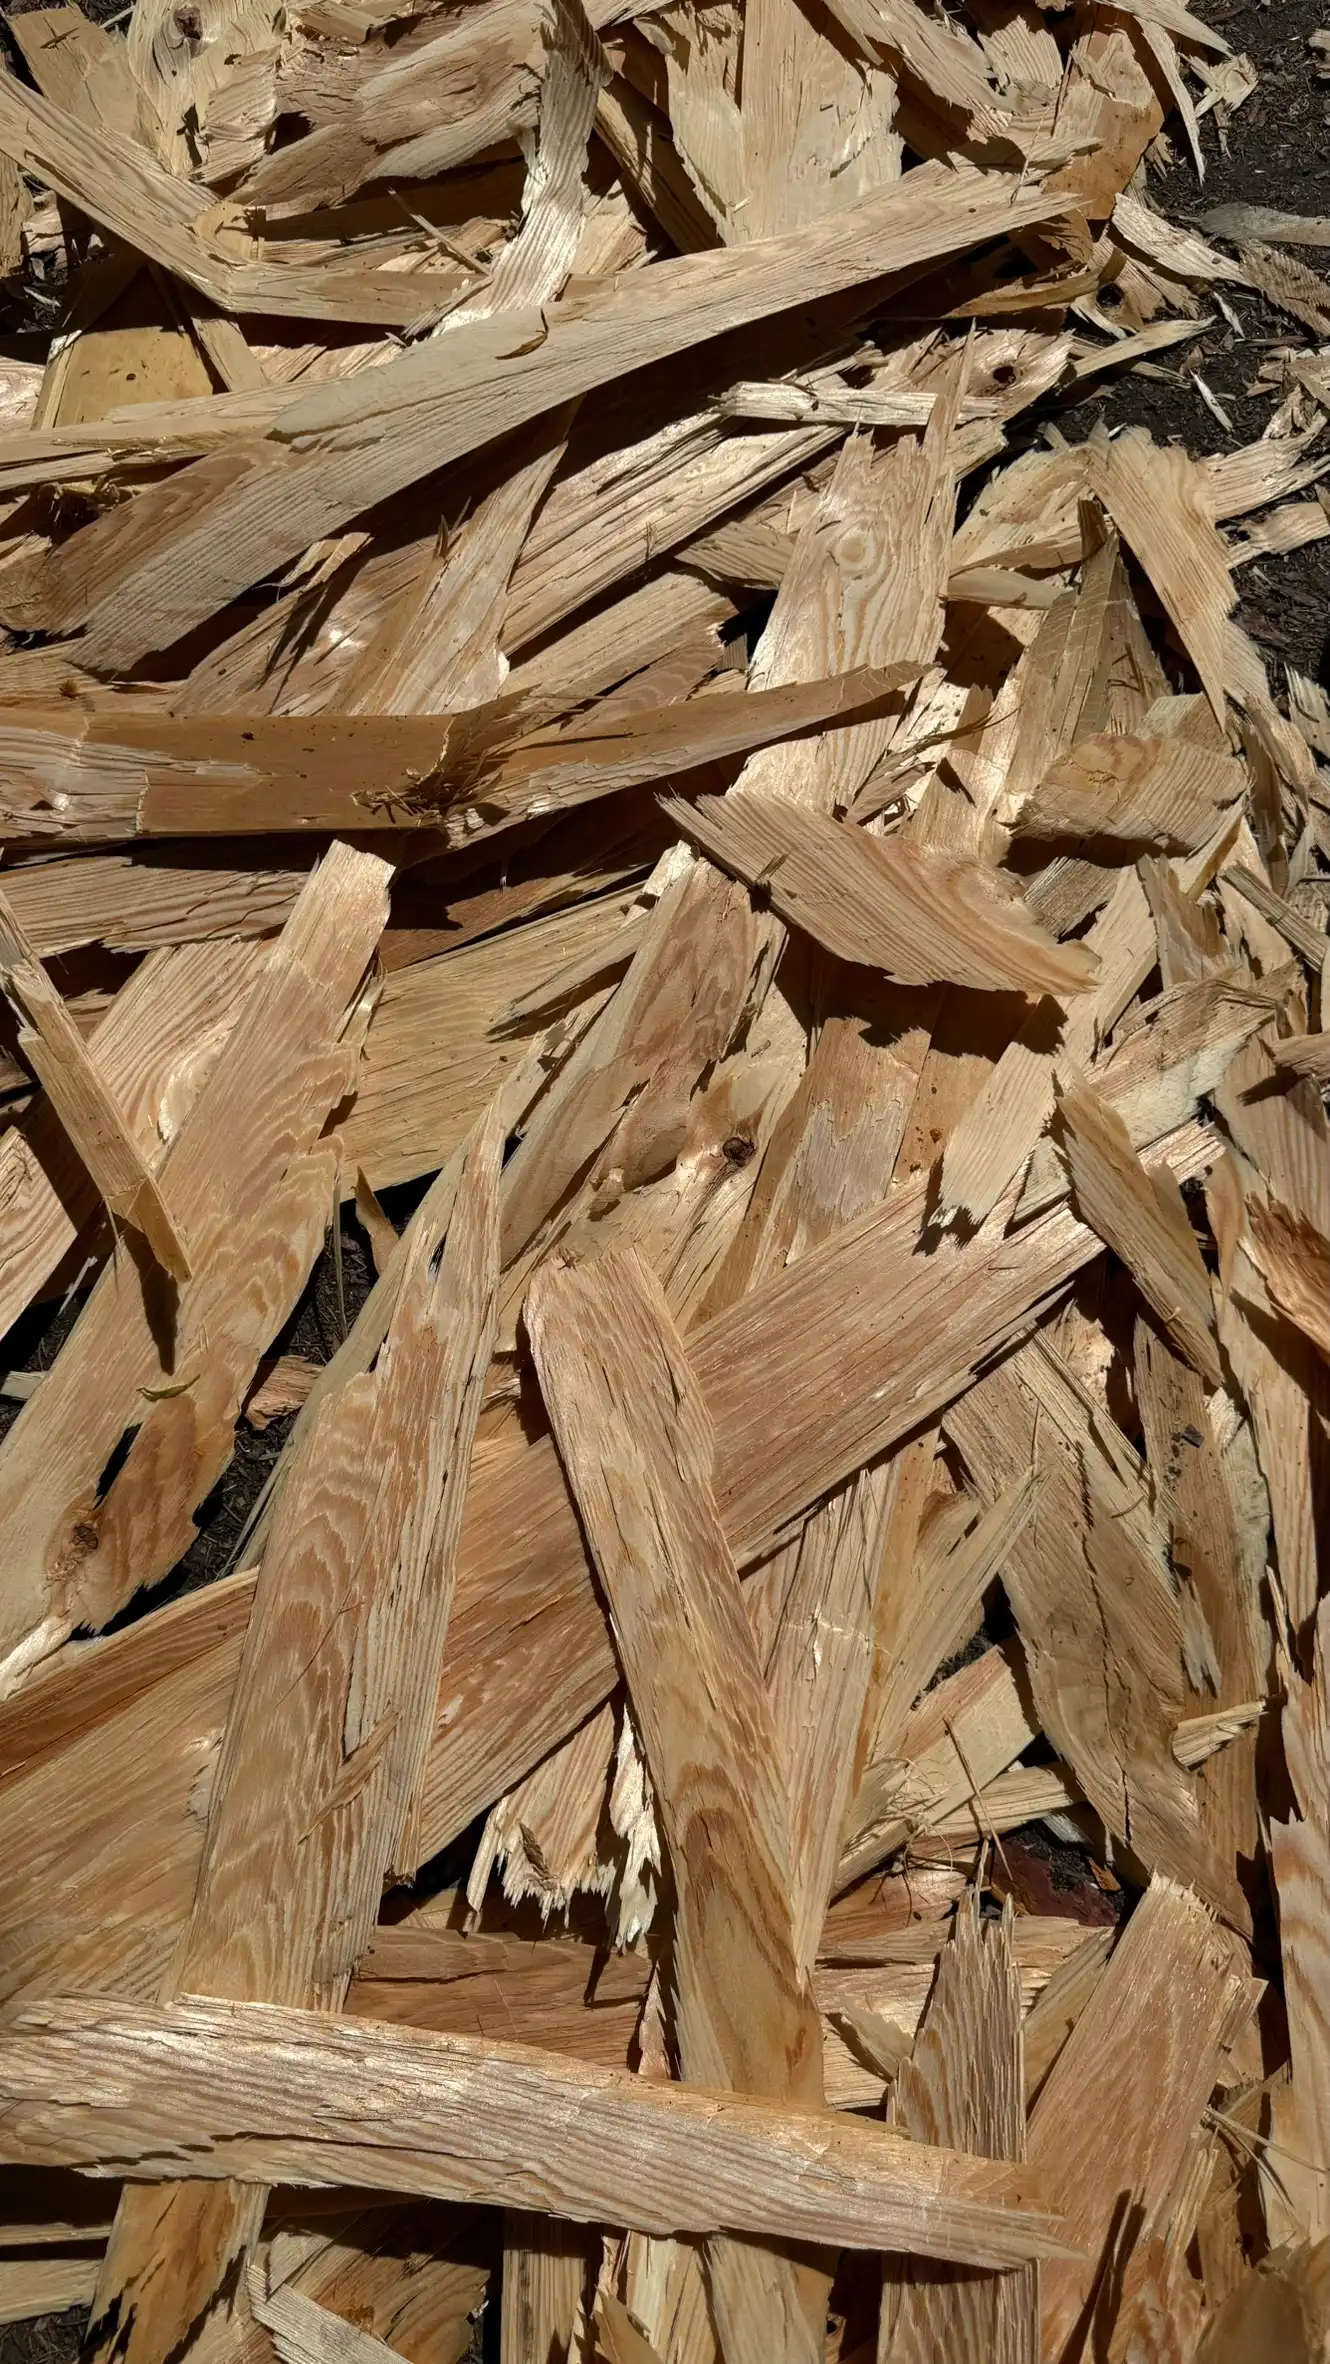
For the production of boards, rough-hewn logs were brought to the hewing site and clamped onto two wooden trestles.
The direction lines for the upcoming work were “marked” with string tracings. The string, running from the spool, was coloured with red ochre (a mixture of clay and hematite, an iron oxide mineral) and pulled tightly along the log. When the string, lifted in the middle, was allowed to snap back onto the log, the red ochre drew a straight line, along which the surfaces were hewn with the mostly two-handed broad axe (30–40 cm long, slightly curved blade).
Once two surfaces of the log were finished, the wood was turned over. This created the squared timber, which was then cut to length (“cut off”) using a 90–120 cm long cross-cut saw (panel saw, frame saw) operated by two men or the lighter frame saw (tension saw). Boards were worked with the back saw and the coping saw (a narrower saw blade than the back saw), and smaller beams were also cut. Other tasks were carried out using the side axe (a horizontally set blade for shaping handles), the mallet and the chisel (gouge), as well as the auger. For smoothing, planes, files, and sandstone were used.
Primarily, spruce was processed, most of which was felled locally, and used as building timber or installed as 8-meter-long beams in the tower. The scaffolding is also made of spruce wood. For the battlements and stairs in/on the tower, larch wood from the higher regions of the Metnitz Valley is hewn.
Hewing in the Middle Ages
Reading Time: 1:55 min
Crafting a square beam from a tree trunk using a broad axe was a fundamental process in medieval timber construction, particularly for timber-framed buildings. The technique is called hewing (in German: Behauen) and was done entirely by hand, requiring great skill, precision, and physical strength.
Here is a step-by-step explanation of how it was done in the Middle Ages:
1 | Felling and Preparing the Tree
- A suitable straight tree (usually oak, pine, or fir) was selected and felled using axes or large saws.
- The trunk was then limbed (branches removed) and sometimes partially debarked.
- It was laid flat on the ground or raised slightly on wooden supports (cribbing) for easier access.
2 | Marking the Beam Dimensions
- The desired width and shape of the square beam were marked directly on the rounded log.
- This was done using a chalk line (Reißschnur) and measuring rods (Messstab), often guided by a plumb line (Senkblei) to ensure straightness and squareness.
- The layout was often done on two opposite sides first (typically the top and one side).
3 | Scoring (Kerben schlagen)
- Deep notches or kerfs were cut vertically along the log with an axe or saw, spaced roughly 20–30 cm apart.
- These cuts went down to the marking line and helped guide the hewing and remove bulk wood more easily.
4 | Joggling (Abschlagen der Abschnitte)
- The wood between the kerfs was chopped off using an axe or hatchet. This process is called joggling.
- It left the side of the log rough but flat, close to the final line.
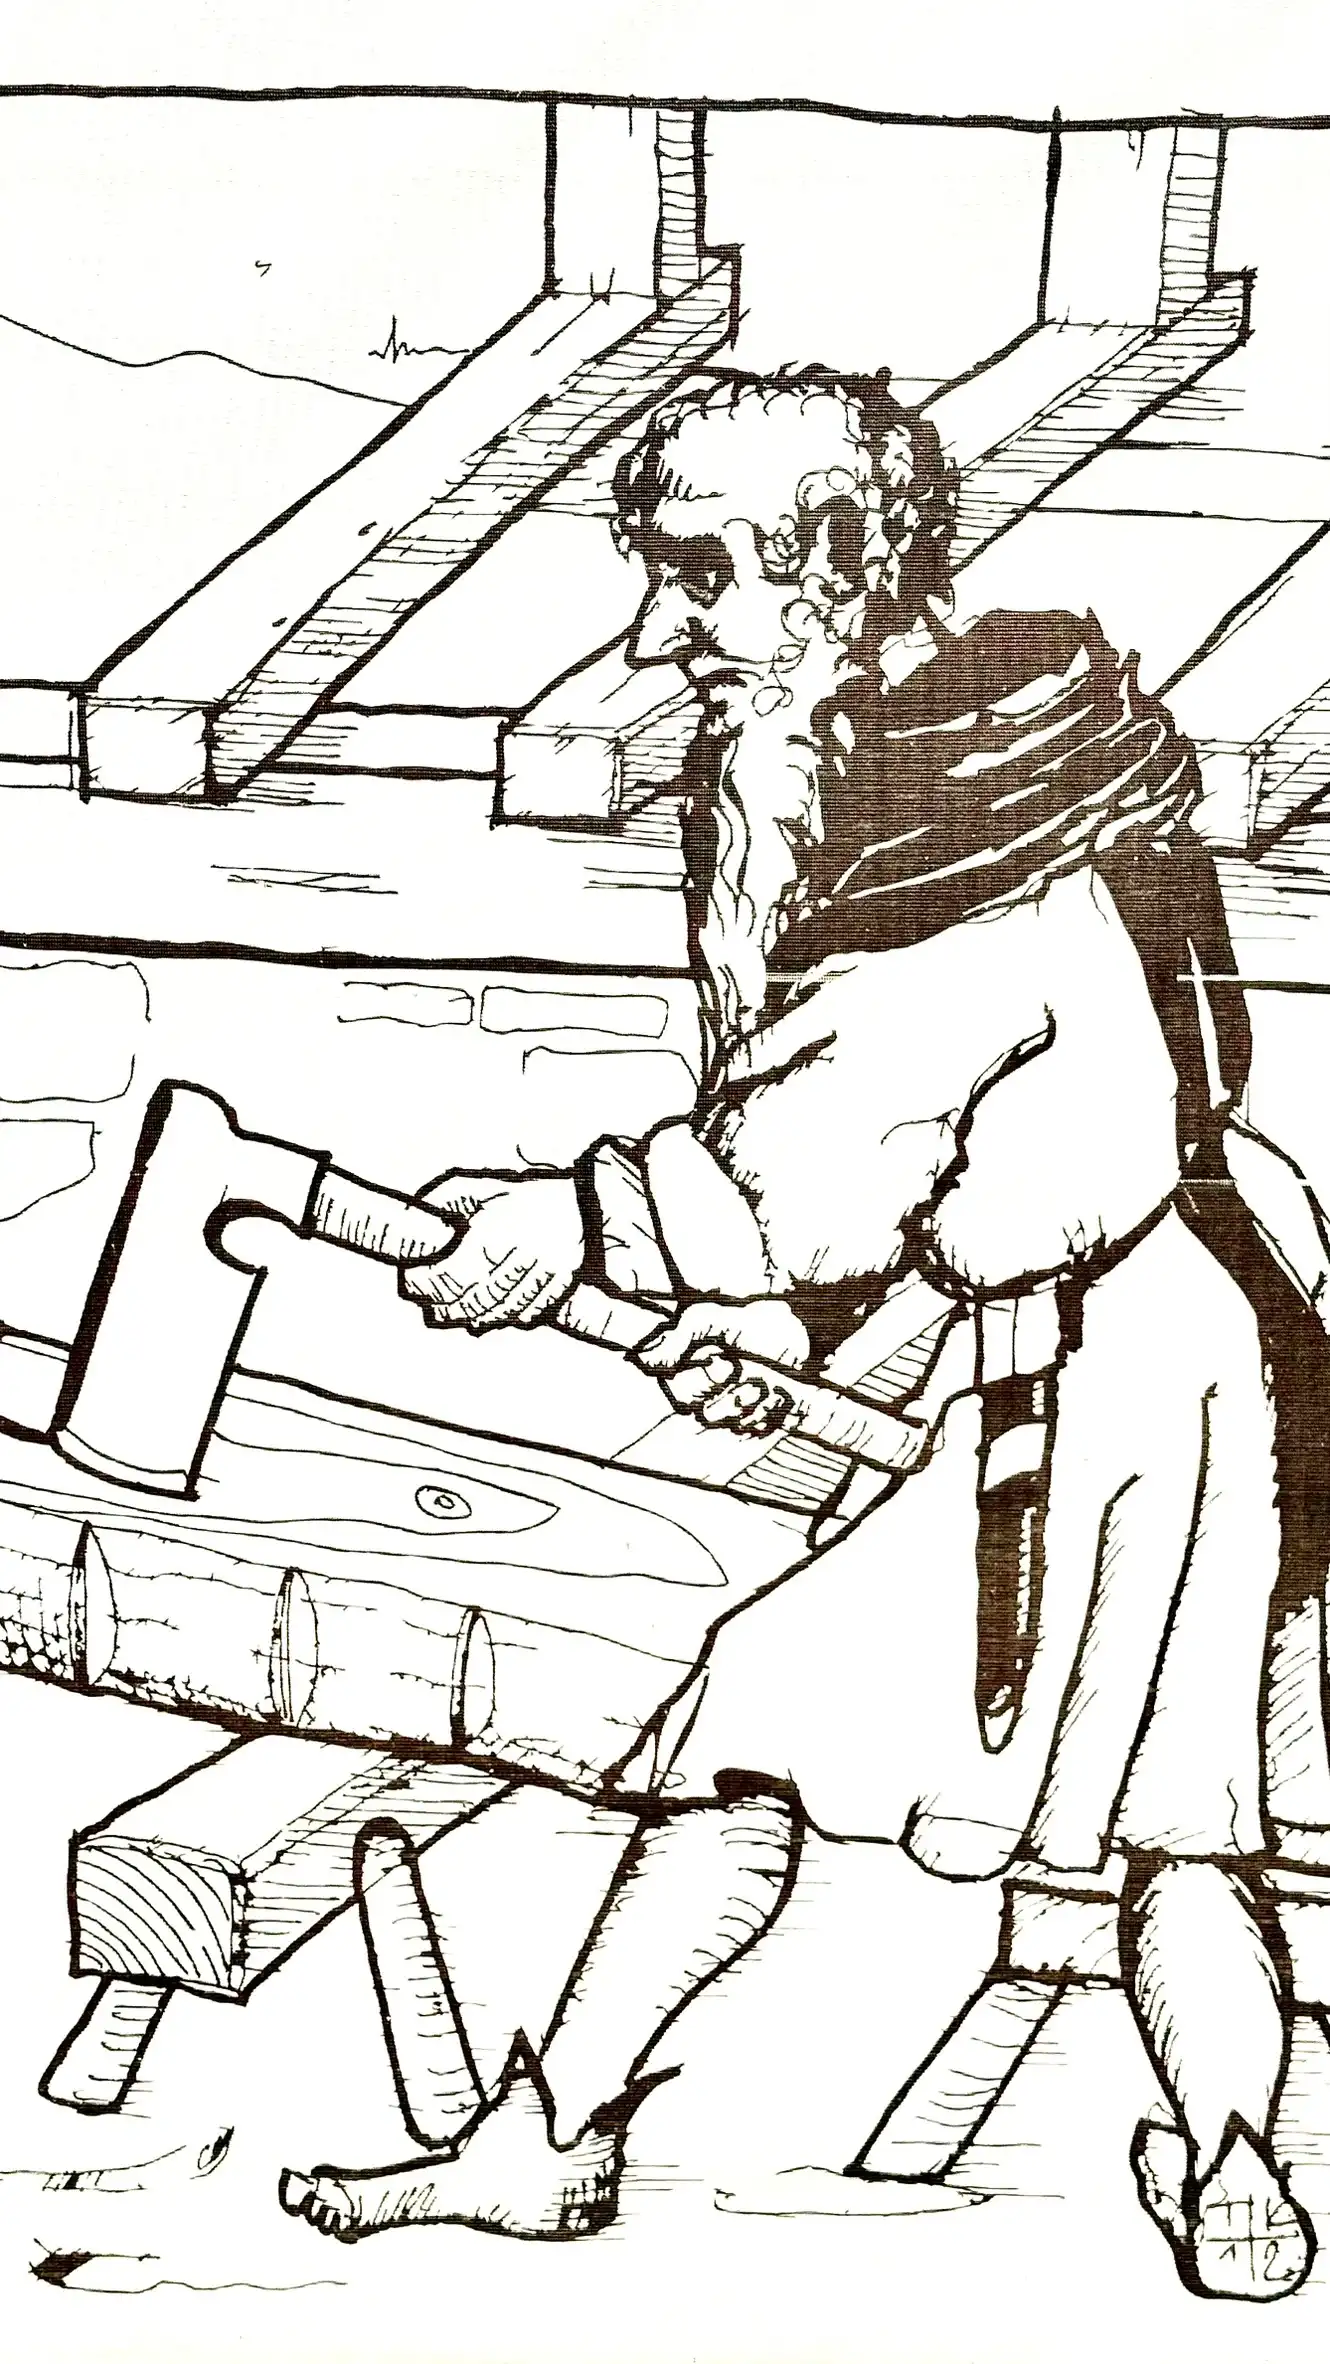
5 | Hewing (Behauen)
- Using a broad axe (Breitaxt), the carpenter then carefully hewed the surface smooth and straight.
- The broad axe had a bevelled blade on one side and was used while standing on the log or beside it.
- The goal was to follow the marked line exactly and create a flat plane.
This process was repeated on all four sides to transform the round log into a square beam.
Tools typically used:
- Broad axe (Breitaxt) – for precise shaping
- Felling axe (Fällaxt) – for cutting down trees
- Saw (Säge) – sometimes used to make kerfs
- Plumb line (Schnur und Senkblei) – for alignment
- Chalk line (Reißschnur) – for marking straight lines
For Finishing Work
- wooden mallet (Holzhammer)
- drawknife (Ziehmesser)
- hatchet or small axe (Beil)